

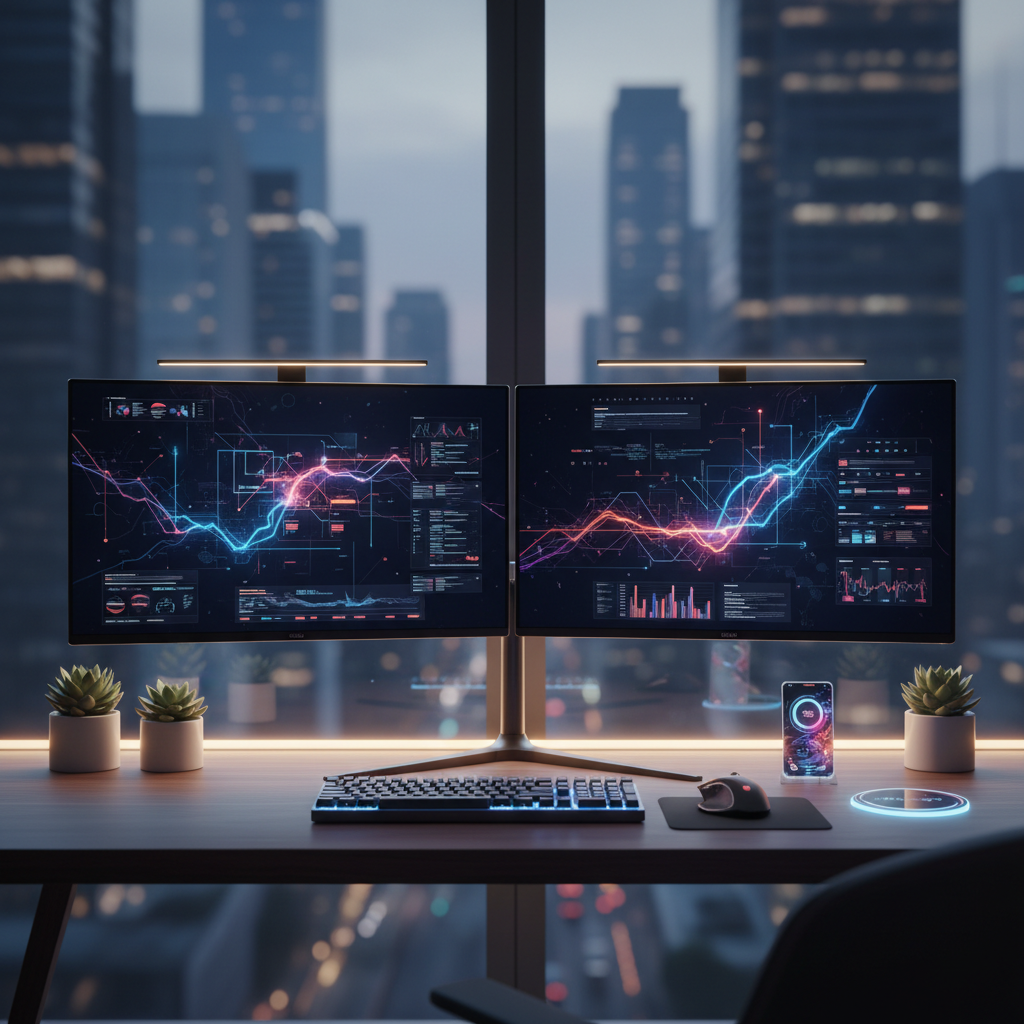
A vertical monitor setup can change how you work at home. Turning a screen sideways gives you more room for reading, coding, and writing. This guide shows you the best vertical monitor setup ideas for any desk size, job type, or budget. You will learn what to buy, how to install it, and how to fix common problems. Let’s get started.
Quick Picks – Top 5 Vertical Monitor Setup Ideas for Home Office
Not sure where to start? Here are five top vertical monitor setup ideas picked for different needs.
Best for Small Desks: Single Vertical + Laptop Setup
Place one vertical monitor next to your laptop. This vertical monitor setup saves desk space. A 24-inch screen works best. Use a slim monitor arm to free up room. You keep your laptop for main tasks and use the vertical screen for chats, emails, or documents.
Best for Developers: Dual Vertical Stack Configuration
Stack two vertical monitors on top of each other. This vertical monitor setup lets coders see more lines of code at once. Use a strong dual monitor arm. Place the main code editor on the top screen. Put terminals or docs on the bottom screen.
Best for Content Creators: Triple Monitor Hybrid Layout
Use one horizontal monitor in the center with two vertical screens on each side. This vertical monitor setup gives creators a wide work area. The center screen holds your main project. The vertical screens show tools, timelines, or reference images.
Best for Writers: Side-by-Side Vertical Pair
Put two vertical monitors next to each other. One screen shows your document. The other shows research notes or sources. This vertical monitor setup cuts down on scrolling and tab switching. Writers can focus better with all text in sight.
Best Budget Setup: Single Vertical with Monitor Arm
Start with one 24-inch vertical monitor and a basic monitor arm. This vertical monitor setup costs less than $200 total. A good arm lets you adjust height and angle easily. It is the simplest way to try a vertical monitor setup at home.
Why Choose a Vertical Monitor Setup for Your Home Office
A vertical monitor setup offers real benefits for your work and health. Here is why more people are switching to portrait screens.
Productivity Benefits of Vertical Monitor Setup
A vertical monitor setup shows more lines of text on screen. You scroll less and find things faster. Studies show workers save up to 30 minutes a day with a second screen. A vertical monitor setup makes that extra screen even more useful for text-heavy tasks like coding, writing, and reading.
Space-Saving Advantages for Small Home Offices
A vertical monitor setup takes up less desk width than a horizontal screen. This matters if your desk is small. You can fit a vertical screen in a tight corner or next to a laptop. Monitor arms help even more by lifting the screen off the desk.
Ergonomic Benefits for Neck and Eye Health
A well-placed vertical monitor setup can reduce neck strain. Your eyes move up and down instead of side to side. This feels more natural for reading long pages. Just make sure the top of the screen is at or below eye level.
Who Should Use a Vertical Monitor Setup
A vertical monitor setup is great for coders, writers, students, data analysts, and remote workers. If your work involves long documents, code, emails, or web pages, a vertical monitor setup can help. Even casual users enjoy the extra screen space for chats and social media.
How to Plan Your Best Vertical Monitor Setup: Step-by-Step
Planning your vertical monitor setup before you buy saves time and money. Follow these five steps.
Step 1: Measure Your Desk Space and Available Room
Measure your desk width, depth, and height. Check the wall space behind it. A vertical monitor setup needs enough depth so the screen is not too close to your eyes. Most experts say keep 20 to 30 inches between your face and the screen.
Step 2: Choose Your Vertical Monitor Configuration Type
Decide how many screens you need. A single vertical monitor setup is simple and cheap. A dual or triple vertical monitor setup gives more space but costs more. Think about your daily tasks to pick the right layout.
Step 3: Select the Right Monitor Size and Resolution
For a vertical monitor setup, 24-inch screens are the best choice for most people. They are tall enough to show lots of text but not so tall that you strain your neck. 27-inch screens work too if your desk is deep. Pick at least 1080p resolution. 1440p or 4K is better for sharp text.
Step 4: Pick Essential Accessories (Arms, Mounts, Cables)
A monitor arm is a must for any vertical monitor setup. It lets you adjust height, tilt, and rotation. Make sure the arm supports 90-degree pivot. You will also need the right cables. HDMI and DisplayPort both work. Check that your cables are long enough for your layout.
Step 5: Budget Planning for Your Vertical Monitor Setup
A basic vertical monitor setup costs $150 to $300. This includes one monitor and a simple arm. A dual vertical monitor setup runs $350 to $600. A full triple setup can reach $800 or more. Set your budget first, then pick parts that fit.
7 Best Vertical Monitor Setup Ideas for Different Workflows
Here are seven vertical monitor setup ideas matched to real work styles.
Setup Idea 1: Dual Monitor Vertical-Horizontal Combo
Place one horizontal monitor as your main screen. Add one vertical monitor on the side. This vertical monitor setup is the most popular choice. The horizontal screen shows your main work. The vertical screen holds emails, chats, or reference pages.
Setup Idea 2: Stacked Vertical Monitors for Coders
Mount two vertical monitors one above the other. This vertical monitor setup gives coders a tall wall of text. Put your code editor on the top screen. Use the bottom screen for docs, terminal output, or debug tools. A strong dual arm is needed.
Setup Idea 3: Laptop + Vertical Monitor Home Office
Use your laptop as the main screen. Add a vertical monitor beside it. This vertical monitor setup is cheap and easy. Great for students or remote workers who already own a laptop. Use a laptop stand to match the height of the vertical screen.
Setup Idea 4: Triple Monitor Setup with Two Verticals
Put one horizontal monitor in the center. Add a vertical monitor on each side. This vertical monitor setup is perfect for power users. You get a wide main workspace plus two tall side panels for tools and notes.
Setup Idea 5: Single Vertical for Small Desk Spaces
Use just one vertical monitor on a desk arm. This vertical monitor setup is the simplest option. It works well in dorm rooms, small apartments, or tiny home offices. A 24-inch screen on a clamp arm takes almost zero desk space.
Setup Idea 6: Standing Desk Vertical Monitor Configuration
Put your vertical monitor setup on a standing desk. Use a monitor arm so you can adjust height easily. When you switch between sitting and standing, the arm lets you move the screen to the right level. This vertical monitor setup is great for your back and posture.
Setup Idea 7: Ultrawide + Vertical Monitor Hybrid
Use a 34-inch ultrawide as your main screen. Add a vertical monitor on one side. This vertical monitor setup gives you the best of both worlds. The ultrawide handles multitasking and media. The vertical screen is perfect for long documents and code.
How to Install and Configure Your Vertical Monitor Setup
Setting up your vertical monitor setup is easy if you follow the right steps.
Physical Installation: Mounting and Positioning
First, attach the monitor arm to your desk. Use the clamp or bolt it through a hole. Next, mount the monitor on the arm. Make sure the VESA plate is tight. Then rotate the monitor 90 degrees to portrait mode. Adjust the height so the top edge is at eye level.
How to Rotate Monitor to Portrait Mode (Windows 11)
Right-click the desktop and select Display Settings. Click on the monitor you want to rotate. Scroll down to Display Orientation. Choose Portrait. The screen will flip. Click Keep Changes. Your vertical monitor setup is now active on Windows 11.
How to Set Up Vertical Monitor on Mac (2026)
Open System Settings and click Displays. Select the monitor you want to rotate. Find the Rotation option. Choose 90 degrees. The screen flips to portrait mode. If you do not see the Rotation option, hold the Option key while clicking Display Settings to reveal more choices.
Display Settings and Resolution Optimization
After rotating your vertical monitor setup, check the resolution. Make sure it matches the native resolution of your screen. On Windows, run ClearType Tuner to fix blurry text. On Mac, check font smoothing settings. This makes text look sharp in portrait mode.
Window Management Software for Vertical Displays
Use window management tools to organize apps on your vertical monitor setup. On Windows, try Microsoft PowerToys FancyZones. On Mac, try Rectangle or Magnet. These tools let you snap windows into place. They work great with tall vertical screens where you want apps stacked top to bottom.
Cable Management Tips for Clean Vertical Monitor Setups
A clean vertical monitor setup looks better and works better. Here is how to manage cables.
Essential Cable Management Tools You Need
Get cable clips, velcro straps, and a cable sleeve. A under-desk cable tray also helps. These tools keep cables tidy in any vertical monitor setup. They prevent tangling and make it easy to add or remove screens later.
How to Route Cables for Vertical Monitor Arms
Most monitor arms have built-in cable channels. Run your HDMI or DisplayPort cable through the arm from base to monitor. Leave some slack so the arm can move freely. Use velcro straps to hold cables in place. This keeps your vertical monitor setup looking clean.
Managing Multiple Monitor Cables in Home Office
If you have two or more screens, group cables together with a sleeve. Label each cable so you know which goes to which monitor. Run all cables down through the arm or desk grommet. A power strip mounted under the desk gives you easy access to plugs.
Cable Length Requirements for Vertical Setups
Standard HDMI cables are 6 feet long. This is enough for most vertical monitor setup layouts. If your monitor is far from your PC, get a 10-foot cable. For DisplayPort, 6 to 10 feet works well. Always measure the distance before buying cables.
Ergonomics Guide: Optimize Your Vertical Monitor Setup
A good vertical monitor setup should feel comfortable all day. Follow these tips.
Ideal Monitor Height and Distance for Vertical Displays
The top of your vertical monitor setup should be at or just below eye level. Sit about an arm’s length away. This is roughly 20 to 30 inches. Your eyes should fall on the upper third of the screen. This reduces neck and eye strain.
Preventing Neck Strain with Vertical Monitor Positioning
Do not place your vertical monitor setup too high. If you have to tilt your head back, it is too high. Lower it until your neck feels relaxed. For stacked monitors, the middle point between both screens should be at eye level. Take breaks every 20 minutes to look away.
Eye Level Alignment for Stacked Vertical Monitors
When stacking two screens, align the gap between them with your eye level. This vertical monitor setup lets you look slightly up or down without strain. Use a monitor arm with tall pole support. Adjust both screens until the transition feels natural.
Accessibility Considerations for Vertical Setups
If you have vision issues, increase text size in your OS settings. A vertical monitor setup is great for large text because it shows more lines. Use high contrast modes if needed. Screen readers work well with portrait displays. Make sure your arm allows easy height changes.
Best Vertical Monitor Setup Ideas by Profession
Different jobs benefit from different vertical monitor setup styles.
Vertical Monitor Setup for Software Developers
Developers love a vertical monitor setup because code reads top to bottom. A single vertical screen beside a main display is the most common choice. Some devs stack two vertical screens for maximum code visibility. Use dark mode to reduce eye strain during long coding sessions.
Vertical Monitor Setup for Writers and Editors
Writers benefit from a vertical monitor setup because documents flow vertically. Place your writing app on the vertical screen. Use the horizontal screen for research or notes. This layout cuts down on scrolling and keeps your focus on the words.
Vertical Monitor Setup for Designers and Creatives
Designers can use a vertical monitor setup for tool panels and asset libraries. Keep your canvas on the main horizontal screen. Put Photoshop layers, color palettes, or reference images on the vertical screen. This keeps your workspace clean and organized.
Vertical Monitor Setup for Data Analysts
Data analysts work with tall spreadsheets and dashboards. A vertical monitor setup shows more rows of data at once. Place Excel, SQL tools, or dashboards on the vertical screen. Use the horizontal screen for reports and presentations.
Vertical Monitor Setup for Remote Workers
Remote workers juggle many apps every day. A vertical monitor setup helps by showing chat, email, and tasks on one tall screen. Your main screen stays free for video calls and documents. This simple change boosts focus and cuts down on window switching.
Common Problems and Solutions for Vertical Monitor Setups
Here are fixes for the most common vertical monitor setup issues.
Fixing Neck Pain from Vertical Monitor Height
Neck pain means your vertical monitor setup is too high or too far. Lower the screen. Move it closer. The top edge should be at eye level. If pain continues, take more breaks. Try the 20-20-20 rule: every 20 minutes, look at something 20 feet away for 20 seconds.
Solving Cable Length Issues in Vertical Setups
If cables are too short, buy longer ones. A 10-foot HDMI cable solves most problems. If cables are too long, coil the extra and secure it with velcro straps. Route cables through the monitor arm to hide them. This keeps your vertical monitor setup neat.
Troubleshooting Display Rotation Problems
If your screen will not rotate, check your graphics driver. Update it to the latest version. Make sure your monitor supports pivot rotation in its specs. On Windows, use Display Settings to change orientation. On Mac, hold Option when clicking Displays to find the rotation menu.
Dealing with Limited Desk Space for Vertical Monitors
If your desk is small, use a monitor arm. A clamp arm frees up desk space completely. Pick a 24-inch or smaller monitor for tight spaces. You can also mount the arm on a wall shelf above your desk. A vertical monitor setup on an arm needs very little flat surface.
FAQ: Best Vertical Monitor Setup Ideas for Home Office
What is the best vertical monitor setup for small desks?
The best vertical monitor setup for small desks is a single 24-inch monitor on a clamp arm. It takes almost no desk space. You can push it aside when not in use. Pair it with a laptop for a full workspace.
How do I set up a vertical monitor with a laptop?
Connect the monitor to your laptop using HDMI or USB-C. Set the laptop screen as your main display. In display settings, rotate the external monitor to portrait mode. Adjust the height with a stand or arm so both screens are at a comfortable level.
Are vertical monitors good for coding in 2026?
Yes. A vertical monitor setup is one of the best choices for coding. You can see 50 to 80 lines of code at once. This reduces scrolling and helps you spot bugs faster. Most professional developers in 2026 use at least one vertical screen.
What size monitor is best for vertical setup?
A 24-inch monitor is the best size for a vertical monitor setup. It gives enough height for long pages without making you move your neck too much. A 27-inch screen works if your desk is deep. Avoid anything larger than 27 inches in portrait mode.
Do I need a monitor arm for vertical setup?
A monitor arm is not required but highly recommended. Most monitor stands do not allow rotation. An arm gives you full control over height, tilt, and rotation. It also frees up desk space. A good arm costs $30 to $80 and makes any vertical monitor setup much better.
Conclusion: Build Your Perfect Vertical Monitor Setup Today
A vertical monitor setup is one of the easiest ways to boost your home office productivity. Whether you code, write, analyze data, or work remotely, a portrait screen helps you see more and scroll less. Start with a single 24-inch monitor and a basic arm. Add more screens as your needs grow. Remember to set the height right, manage your cables, and take breaks. Your perfect vertical monitor setup is just a few steps away. Start building it today.