

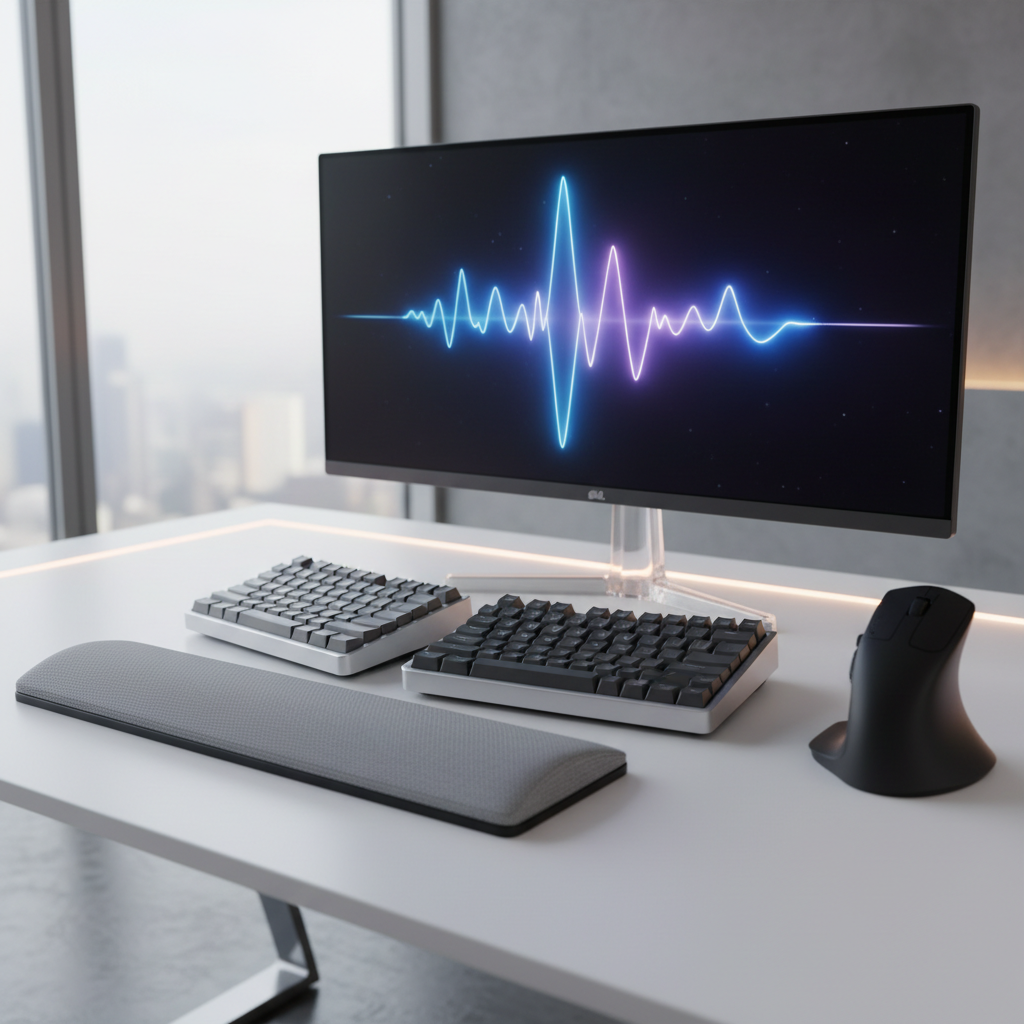
Switching to a split keyboard can change how you feel at the end of a long workday. Many people who type all day know the pain of sore wrists, tight shoulders, and stiff fingers. Split keyboard ergonomics offers a simple fix. This guide walks you through every step. You will learn how to set up your keyboard, build a full ergonomic home office, and get through the first 30 days without losing speed. Let us start with the basics.
Quick Tips – Essential Split Keyboard Ergonomics Checklist
Before you dive deep, here are the most important rules. Keep this list handy as you set up your desk.
The Golden Rule of Split Angle Positioning
Place each keyboard half at shoulder width. Your arms should hang straight down from your shoulders. Research shows a 15-degree split angle works best for most people. This angle reduces ulnar deviation without forcing your elbows too wide.
Optimal Tenting and Thumb Key Configuration
Tenting means tilting the inner edge of each half upward. Start with 10 to 15 degrees of tenting. This brings your hands closer to a natural handshake position. Use 2 to 3 thumb keys per side. Keep at least 19mm of space between thumb keys to avoid pinching.
Your 7-Day Transition Timeline at a Glance
- Day 1-2: Place halves almost together. Type for 10 minutes per day.
- Day 3-4: Widen the split by one inch on each side. Add 5 minutes of practice.
- Day 5-6: Try 10 degrees of tenting. Keep practice sessions short.
- Day 7: Review comfort levels. Adjust angle and tenting as needed.
Understanding Split Keyboard Ergonomics: Why Your Wrists Will Thank You
What Makes Split Keyboards Different From Traditional Layouts
A standard keyboard forces your hands close together. Your wrists must bend outward to reach the keys. A split keyboard divides into two separate halves. You place each half where your arms hang naturally. This simple change reduces strain on your wrists, shoulders, and neck.
The Science: Ulnar Deviation and Forearm Pronation Explained
Ulnar deviation means bending your wrist outward toward your pinky side. On a flat keyboard, this happens all day long. It puts pressure on the nerves in your wrist. Forearm pronation happens when your hands face palm-down. This twists the bones in your forearm. Split keyboard ergonomics fixes both problems. A 15-degree split angle reduces ulnar deviation. Tenting reduces forearm pronation by turning your palms inward.
How Split Keyboards Reduce Carpal Tunnel and RSI Risk
Carpal tunnel syndrome happens when nerves in your wrist get squeezed. RSI (repetitive strain injury) comes from doing the same motion too often. Studies show that split keyboards keep your wrists in a neutral position. This lowers the risk of both problems. A PubMed study found that a 15-degree split angle with zero slope gives the safest wrist posture.
Step-by-Step: How to Position Your Split Keyboard for Perfect Ergonomics
Follow these five steps to set up your split keyboard the right way. Take your time. Small changes make a big difference in comfort.
Step 1 – Start With the Centered Baseline Position
Place both keyboard halves together in the center of your desk. Sit in your chair with your back straight. Let your arms hang at your sides. Your elbows should form a 90-degree angle. If your keyboard is higher than your elbows, lower it. If it is lower, raise it.
Step 2 – Adjust the Split Angle Gradually
Slide the left half to the left and the right half to the right. Move each half about one inch at first. Type a few sentences. If your shoulders feel tight, move the halves back closer. If they feel relaxed, move them apart a bit more. The goal is to match your shoulder width. Most people need a 15-degree angle.
Step 3 – Set Tenting Height for Neutral Wrist Alignment
Lift the inner edge of each half so your thumbs sit higher than your pinkies. Use rubber feet, small stands, or built-in tenting legs. Start at 10 degrees. After a few days, try 15 to 20 degrees. Your wrists should feel straight, not twisted. If you feel strain in your forearms, lower the tenting angle.
Step 4 – Position Your Mouse or Trackpad Correctly
Place your mouse between the two keyboard halves. This keeps your pointing device close to your body. You will not need to reach far to the right. If you use a trackball, place it where your thumb rests naturally. Keep your elbow at 90 degrees when you click and scroll.
Step 5 – Fine-Tune Desk Height and Monitor Distance
Your desk should let your elbows rest at 90 degrees. Your monitor should sit at eye level, about an arm’s length away. If your shoulders feel tight, raise or lower your chair. If your neck hurts, adjust the monitor height. Good split keyboard ergonomics means your whole body feels balanced.
How to Build a Complete Ergonomic Home Office Setup Around Your Split Keyboard
Choosing the Right Desk Depth for Split Keyboard Placement
Your desk should be at least 24 inches deep. This gives you room for both keyboard halves and your mouse. If your desk is too shallow, your hands get too close to the edge. A deeper desk also lets you push everything back when you need more space.
Chair Height and Monitor Positioning to Match
Adjust your chair so your feet rest flat on the floor. Your thighs should stay parallel to the ground. Your elbows must match the height of your keyboard. Your monitor top should line up with your eyes. This keeps your neck in a neutral position.
Keyboard Tray vs. Desktop: Which Works Best
A keyboard tray saves desk space and gives you height control. A desktop setup feels more open but takes more room. If you use a tray, make sure it has a negative tilt. This means the front edge is higher than the back. A flat desktop works fine as long as your chair height is correct.
Cable Management Tips for Split Keyboard Halves
Most split keyboards use one cable to connect the two halves. Route this cable along the back of your desk. Use simple cable clips or a cable sleeve to keep it out of the way. If both halves are wireless, charge them on a small pad near your desk. This keeps your workspace clean and safe.
The 30-Day Transition Plan: How to Adapt Without Losing Productivity
Week 1 – The Learning Phase (What to Expect)
Your first week will feel slow. You may type at half your normal speed. This is normal. Your brain is building new muscle memory. Practice for 10 to 15 minutes each day. Use a simple typing program to build finger accuracy. Do not push through pain. If something hurts, adjust your setup right away.
Week 2 – Building Muscle Memory and Speed
By week two, your fingers start to find keys without looking. Your speed improves by about 30 to 50 percent. Start using your split keyboard for short tasks like writing emails. Keep your old keyboard nearby for longer work if needed. Try increasing tenting one degree each day to find your comfort zone.
Week 3 – Achieving Full Typing Flow
In week three, typing starts to feel natural. You reach 70 to 80 percent of your old speed. Begin using the split keyboard for your full workday. Your shoulders and wrists should feel much better. Practice tricky key combos like Ctrl+Z and Shift+number keys.
Week 4 – Long-Term Optimization and Refinement
Week four is about fine-tuning. Check your split angle, tenting, and mouse position. Make small changes if you feel any tightness. By now you should type at your full speed. Most users report feeling more comfortable than ever before. Split keyboard ergonomics pays off in the long run.
How to Customize Your Split Keyboard Layout for Maximum Ergonomics
Programming Thumb Keys and Layers for Common Shortcuts
Your thumb keys are the easiest to reach. Put your most-used shortcuts there. For example, set one thumb key as Space and another as Enter. You can also add layer keys to access extra functions without moving your hands.
Remapping Modifier Keys to Reduce Finger Stretch
Move Ctrl, Alt, and Shift to easier spots. Some users place Ctrl on the thumb cluster. This removes the need to stretch your pinky across the keyboard. Less stretching means less strain over time.
Creating Use-Case-Specific Layouts (Coding, Writing, Gaming)
Different tasks need different key layouts. For coding, put brackets and symbols on easy-to-reach thumb keys. For writing, focus on fast letter access. For gaming, make sure your WASD keys are comfortable and your thumb can reach action buttons.
Recommended Software Tools for Split Keyboard Configuration in 2026
| Tool | Type | Best For |
|---|---|---|
| VIA / Vial | Open-source GUI | QMK-based split keyboards |
| ZMK Studio | Open-source GUI | Wireless split keyboards (ZMK firmware) |
| Oryx (ZSA) | Proprietary web tool | ZSA Moonlander and Voyager users |
| Chrysallis | Proprietary app | Keyboardio Atreus and Model 100 |
| MoErgo Editor | Web-based tool | Glove80 and other MoErgo boards |
Troubleshooting Common Split Keyboard Ergonomics Problems
“My Shoulders Hurt” – Fixing Tension and Posture Issues
Shoulder pain often means your keyboard halves are too far apart. Move them closer together by half an inch. Check that your elbows stay at 90 degrees. If your chair armrests push your shoulders up, lower or remove them.
“Typing Speed Has Dropped” – Rebuilding Efficiency Without Frustration
Slow typing is part of the learning curve. Use online typing tools to practice daily. Focus on accuracy first, speed second. Within four weeks, most users return to their full speed. If it takes longer, that is okay too. Consistency matters more than rushing.
“Wrist Pain Isn’t Going Away” – When to Adjust Your Setup
If wrist pain continues past two weeks, check three things. First, make sure your split angle is not too wide. Second, lower your tenting angle. Third, confirm your desk height lets your wrists stay flat. If pain persists, see a doctor or physical therapist.
When to Take a Break vs. When to Modify Your Approach
Take a break if you feel sharp pain or numbness. Rest your hands for 5 to 10 minutes. If the pain comes back when you start typing again, modify your setup. Try a smaller split angle or less tenting. Split keyboard ergonomics works best when you listen to your body.
Split Keyboard Ergonomics for Different User Types
Best Setup Adjustments for Programmers and Developers
Programmers type special characters all day. Move brackets, semicolons, and curly braces to thumb keys or home row positions. Use layers to keep your layout clean. Many developers also use a trackball between the halves to avoid reaching far for a mouse.
How Writers and Content Creators Can Optimize Split Layouts
Writers focus on speed and rhythm. Keep your letter keys on the home row. Put punctuation marks in easy thumb positions. Set a layer for common editing shortcuts like Ctrl+A and Ctrl+S. This lets you edit without leaving the home position.
Split Keyboard Ergonomics Tips for Gamers
Gaming needs fast reflexes. Keep your WASD or arrow keys in the same place as your old keyboard. Add macro keys on thumb clusters for in-game actions. Use a low split angle so your hands stay close to the mouse.
Working From Home: Adapting Your Split Keyboard for Shared Spaces
If you share your desk, keep your split keyboard halves on a small mat. This makes it easy to set up and put away. Use wireless halves to avoid cable clutter. Adjust the setup each time to match your body. Good split keyboard ergonomics means your desk works for everyone.
FAQ: Your Most Asked Split Keyboard Ergonomics Questions
How Long Does It Take to Get Used to a Split Keyboard?
Most people adapt within 2 to 4 weeks. During this time, practice for 10 to 15 minutes each day. Start with a small split angle and work your way up. If you are patient and consistent, you will feel comfortable within a month.
Can I Use a Split Keyboard With a Laptop?
Yes. Connect a split keyboard to your laptop using USB or Bluetooth. Then close your laptop lid or place it on a stand behind your keyboard. This raises your screen to eye level while your hands stay in the right position. Always use an external keyboard with your laptop for the best ergonomics.
Do Split Keyboards Work Well for Gaming?
Many gamers use split keyboards. They reduce wrist strain during long sessions. Choose a model with low split angle and fast key response. Some gamers add layers for macros and shortcuts. The main tradeoff is that you need practice to build muscle memory for game keys.
Is It Worth Switching in 2026?
If you type for more than two hours a day, yes. Split keyboard ergonomics reduces the risk of pain and injury. Modern split keyboards offer wireless options, easy software tools, and adjustable angles. The short learning curve pays off in long-term comfort.
Conclusion: Your Path to Pain-Free Typing Starts Here
Split keyboard ergonomics is one of the easiest upgrades you can make for your health. Start with a 15-degree split angle and 10 degrees of tenting. Follow the 30-day plan to build speed and comfort. Customize your layout to match how you work. Take breaks when you need them and adjust your setup often. Your wrists, shoulders, and back will thank you in the years ahead. The best time to start your split keyboard journey is today.